3D modeling and animation is the process of creating 3D digital objects, environments, and characters using specialized software to form the building blocks of a 3D animation scene. To start the workflow, begin with concept design, then block out the primary shapes using basic geometry, progressively add detail and refine the model through techniques like sculpting and retopology, and finally, prepare it for texturing and animation.
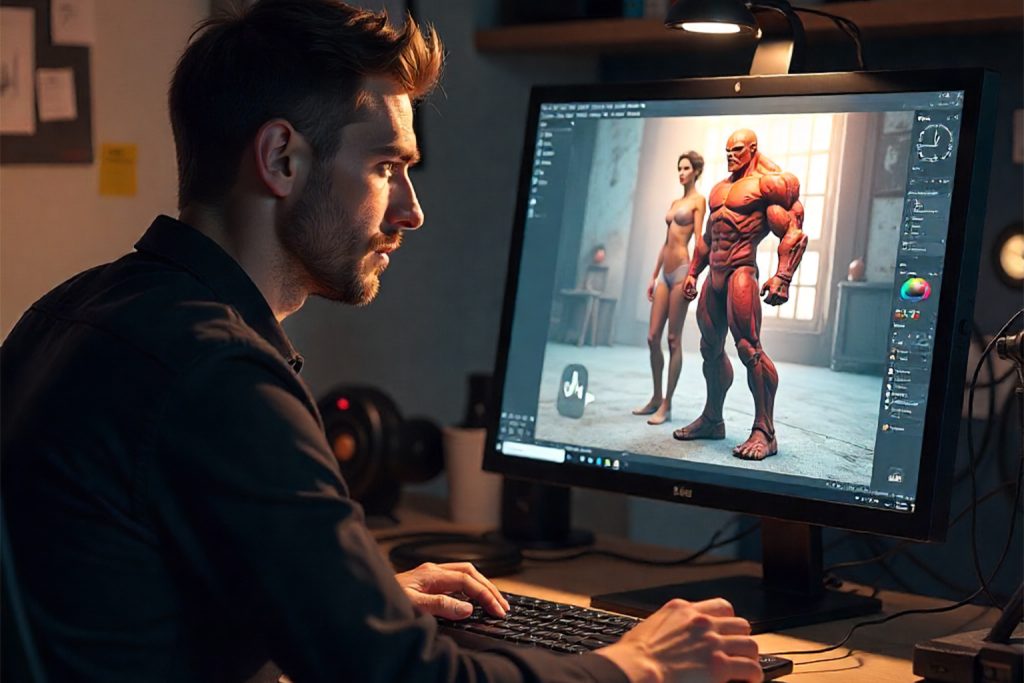
The 3D modeling process starts with the material prepared in the design component of the animation pipeline; in which the shape of each object is portrayed in detail. The design data consists mostly of drawings and sometimes sculptures as well. The job of a modeling artist is to recreate the geometry of these objects in a 3D modeling environment.
In order to be used in a 3D animated video or anime character 3D model, 3D models need to look pleasing. They also have to be functional and properly fit into the pipeline; meaning their creation should be feasible with the resources at hand.
The animation is all about movements and portraying these movements will require deformities in the objects. Contrary to 2D animation, this can be quite challenging in a 3D animation. In fact, 3D models must be optimized for a wide range of deformities caused by movement; if not, they would look extremely odd.
What is the 3D Modeling Workflow?
Each 3D artist or studio has its own workflow for 3D modeling. Different objects in a single project might also require different approaches. However, there’s a common step by step route to reaching a final 3D model; regardless of technique or style:
- References: every 3D modeling process starts with a reference such as pre-production concept art real-world images or even objects.
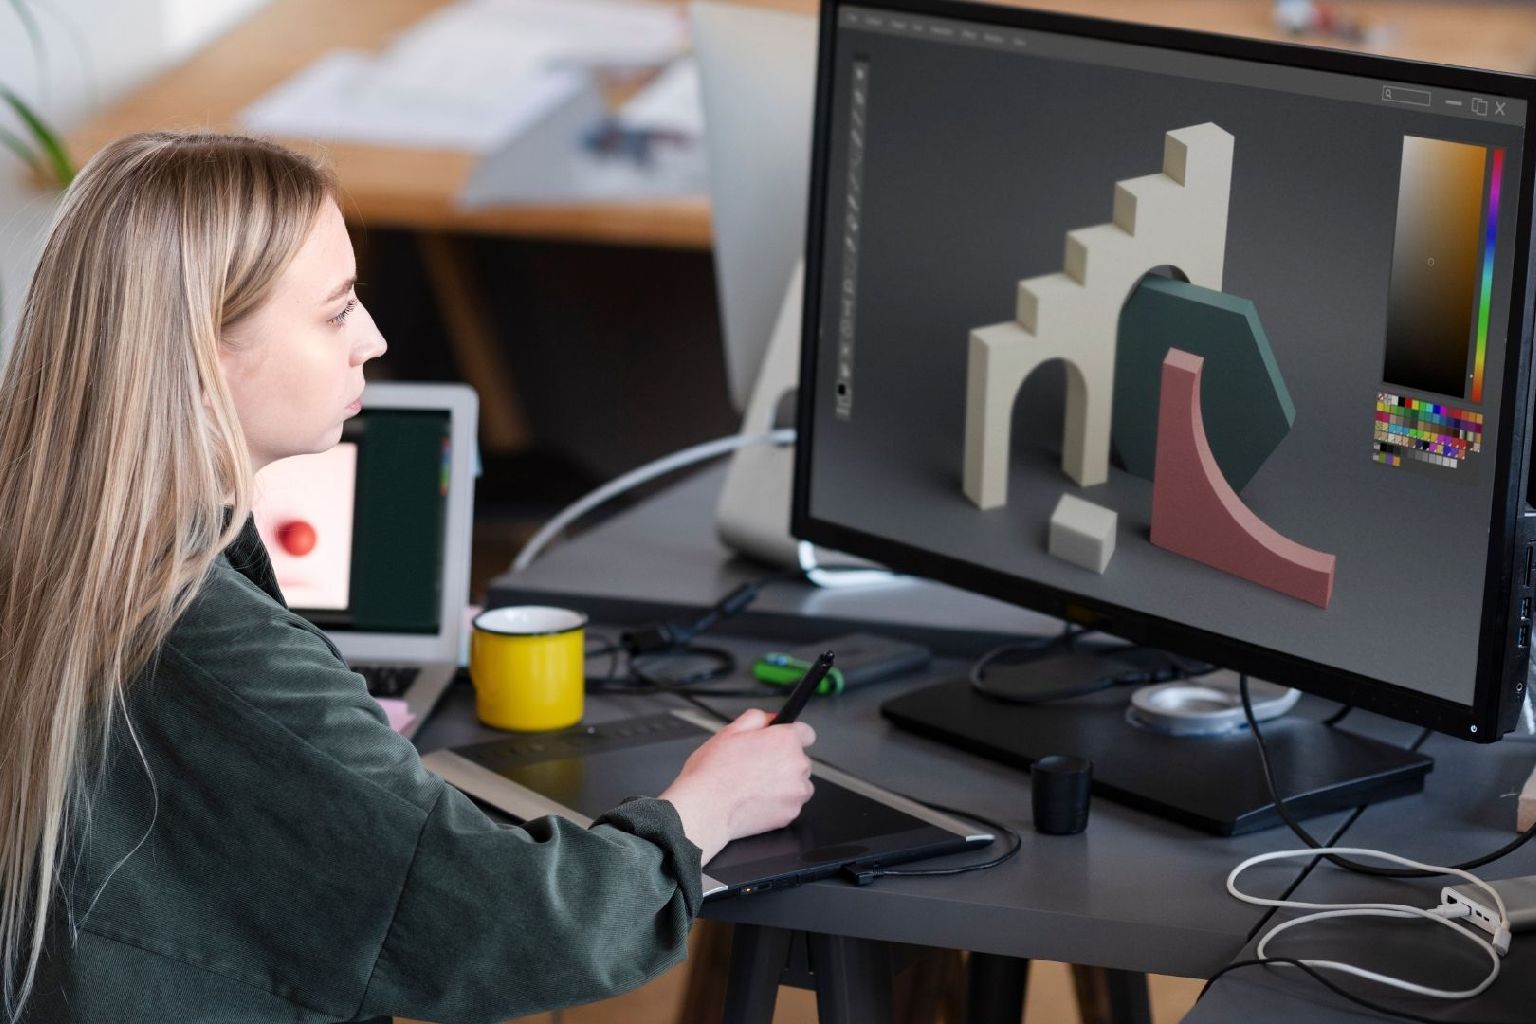
- Planning: here you need to make a plan on how you’re going to create your model. Each model could be split into separate simple primitives.
- Execution: the goal is to create a primitive shape of the 3D model based on the plan and make sure the proportions are correct.
- Refinement: After creating the primitive model, you need to add additional details to your 3D model to make it look better.
- Retopology: When the 3D model is ready, you need to build your low poly model from high poly by using retopology tools.
Step-by-Step Guide
3D modeling has become an investment for most businesses today. It is a process that needs time, effort, and resources to deliver clients the best results. As a result, many businesses outsource their 3d modeling requirements for an effective solution.
Step 1: 3D Design Requirement Submission
The client signs up with our modeling studio through the website and submits the order. The client gives all the required files during the sign-up process. We provide a catalogue design that helps the customers to make their choices if they are unsure of the model designs.
Step 2: Set Designing Goals
After starting the project, we contact the customer and assign them a project manager. The manager provides the customer with all project updates. Here, we set the deadlines for the project.
Step 3: Modeling
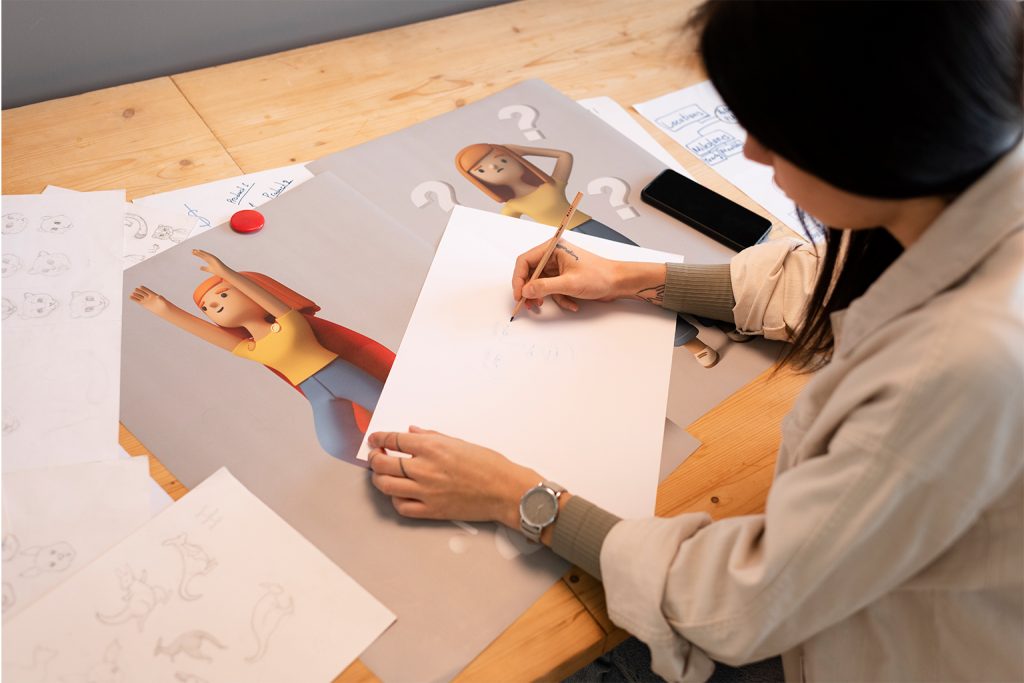
Now, after the discussions, the actual design process starts. The project manager gives the project to the design team that starts working on the project.
First, the team sits down and brainstorms design concepts and then sketch visuals. They develop 3D models . The studio sends the mock-up for client-approval.
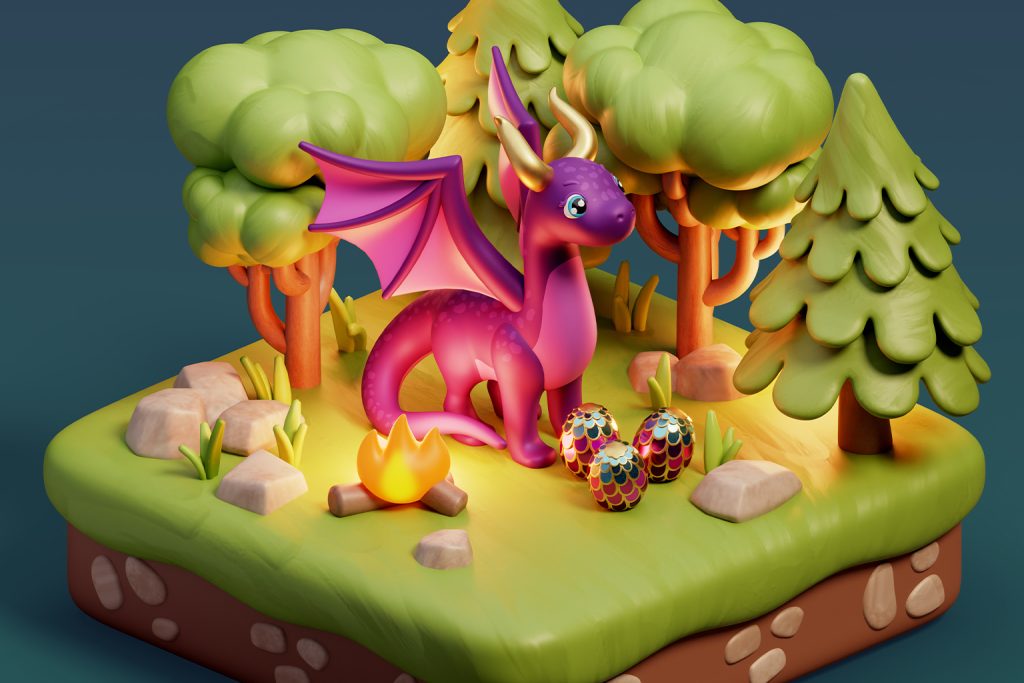
Step 4: Texturing
The objects generated from the 3D game models look grey by default. They need coloring and surface attributes corrections that meet real-world designs. A 3D wooden table should match the color and textures of a real-world model and the professional texturing experts do it. The objective is to make it look realistic when rendered.
Step 5: Corrections
3D modeling for games is a process that requires many real-time items for their project. When modelers don’t have the objects, they have to leash out their creativity to add the fine details. It is a cumbersome task that needs hard labor.
But it is a crucial stage of the 3D modeling that ensures the best project results. Hence, they stick to the following steps to have flawless working models.
Step 6: Project Completion and Delivery
Upon corrections, the modeling studio performs a specific set of actions mentioned below:
Fixing clash issues
The workings of the 3D project clash and interfere with each other at some point. The team fixes the conflict and cleans them before sending them to the final stage of delivery.Finalization
Whenever there is a bug or error in the prototypes of the 3D models, they get fixed at this stage. They also receive quality enhancement touches for the final delivery.File conversions
The final deliverables get converted into file formats.
Wrap-up
In a 3D animation, everything needs to be created or “modeled”; thus 3D modeling the characters, props and environments is a crucial part of every 3D animation studio’s pipeline. 3D models are surface representations of objects created in a 3D environment like 3D software.
Approved 3D models can go back in the pipeline from here. The proxy models used in the 3D layout can be replaced with the final models; enabling the layout artist to better adjust the scene for instance. If you would like to include 3D animation in your business contact us now!