
A product animation can have excellent modeling, lighting, and motion, then lose impact in the final mile. A mismatched shadow, clipped highlight, inconsistent color grade, or poorly timed sound effect can make premium work feel unfinished. This 3d post production guide explains how production teams turn approved 3D renders into polished visual assets that hold up across marketing, film, architecture, and technical applications.
Post-production is not simply a cleanup stage. It is where creative direction, technical control, and delivery requirements come together. For companies outsourcing visual production, a defined post workflow also prevents costly revision loops and keeps internal stakeholders focused on decisions that actually affect the result.
What 3D Post-Production Covers
3D post-production begins after rendering, but it should be planned much earlier. It includes compositing rendered passes, color correction and grading, effects work, editing, sound design, titles, quality control, and final encoding. The exact scope depends on the asset. A medical animation may require clinical accuracy and restrained labels, while a consumer product film may need polished reflections, energetic pacing, and music that supports the brand.
The goal is not to make every frame look heavily processed. The goal is to make the final piece feel intentional. Strong post-production preserves realism where realism matters, adds visual emphasis where the story needs it, and creates consistency across every shot.
For still images, this work may focus on compositing, retouching, color management, and output preparation. For animation, it expands into timing, transitions, sound, titles, and format-specific delivery. Both require the same discipline: protect the original visual intent while improving the audience experience.
Start With a Post-Production Plan Before Rendering
The most efficient post teams do not wait for final renders to discuss the look. Before production begins, confirm the creative reference, target platforms, aspect ratios, frame rate, resolution, brand color requirements, text needs, and approval process. This information determines what must be rendered and how the project should be organized.
A compositing workflow is far more flexible when the 3D team delivers separate render passes instead of a single flattened image sequence. Common passes include beauty, diffuse, specular, reflection, shadow, ambient occlusion, depth, motion vectors, masks, and cryptomattes. These passes give compositors control over exposure, reflections, depth of field, object isolation, and selective color changes without requiring a full re-render.
That flexibility has limits. Render passes are not a substitute for poor lighting, incorrect materials, or weak animation. If a core creative decision is wrong in 3D, fixing it in post can become expensive and inconsistent. The best choice is to solve foundational issues before rendering, then use post-production for refinement and controlled enhancement.
Build a Clear Asset and Version Structure
Naming conventions are not glamorous, but they protect delivery schedules. Every scene, render pass, audio file, edit, and approval should follow a shared structure. Teams should be able to identify the project, shot, version, date, frame range, and status without opening the file.
For example, a clean workflow separates working files from approved source material and final masters. It also distinguishes preview exports from client-ready deliverables. Without this discipline, teams risk applying feedback to outdated cuts or delivering the wrong version when deadlines are tight.
Composite for Control, Not for Excess
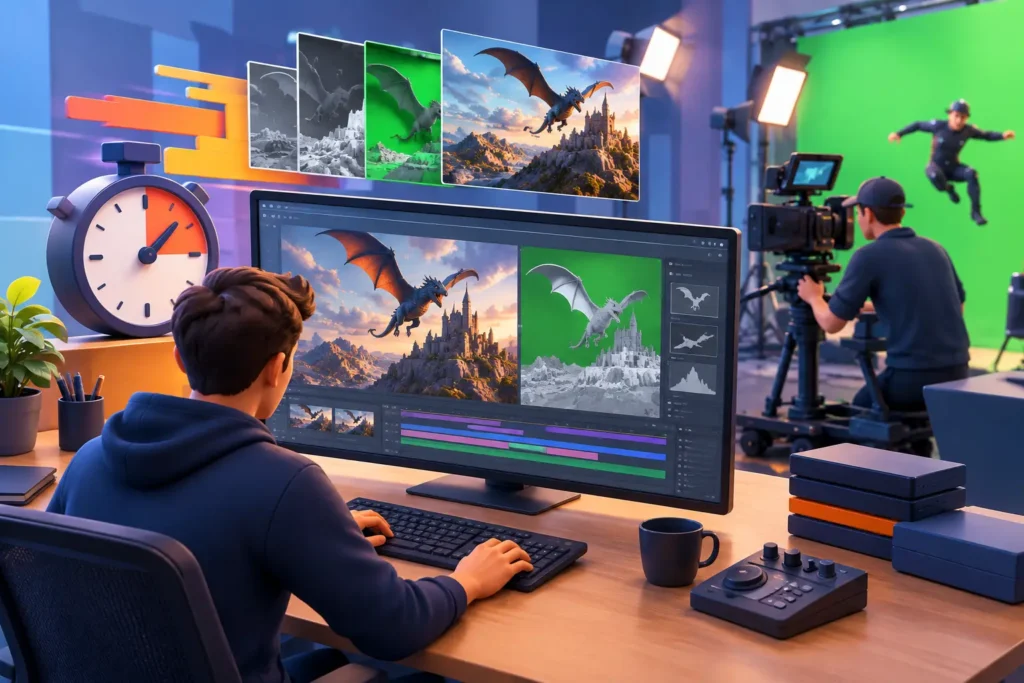
Compositing combines 3D renders with backgrounds, footage, graphics, visual effects, and corrections. It is often where a technically accurate render becomes a convincing final image. The compositor balances the elements so they share the same lighting logic, camera behavior, grain structure, and color response.
A common example is product visualization. A 3D product may be placed into a lifestyle setting, but the integration fails if its shadows are too clean, its reflections do not match the environment, or its sharpness differs from the plate. Post-production aligns those visual cues. It may also remove unwanted artifacts, refine contact shadows, add subtle atmospheric depth, or adjust exposure so the product remains the focal point.
Restraint matters. Excessive glow, lens effects, sharpen filters, or artificial grain can date a project quickly. Effects should support the brand and story, not compete with them. In architectural rendering, for instance, a light atmospheric treatment can create scale and mood, while overprocessed skies or dramatic color shifts may misrepresent the proposed design.
Use Color Management From the Beginning
Color problems often originate before the grading stage. If color spaces, display settings, and output profiles are not controlled, a project can look different between workstations, review files, and final screens. This is especially risky for branded products, retail campaigns, and medical content where color accuracy carries commercial or informational weight.
A managed color pipeline helps preserve detail in highlights and shadows while keeping footage, renders, and graphics consistent. The final grade then becomes a creative choice rather than an attempt to repair unpredictable source material. Review masters should be checked on calibrated displays whenever exact color is essential.
Grade for Story, Brand, and Platform
Color grading establishes the final visual mood. It can make a product feel premium, a technical process easier to read, or a film sequence more cohesive across multiple locations and shots. But the grade must serve the intended use.
A cinematic social campaign may benefit from contrast and stylized color separation. A medical animation usually needs clean whites, accurate tissue color, and legible detail. An architectural presentation may need a natural, aspirational tone that reflects the design intent without making materials appear unrealistic. There is no universal grade that works for every industry.
Brand consistency should guide the process. If a company has established photography, packaging, or campaign standards, post-production should reference them. The work does not need to be identical across formats, but it should feel like it belongs to the same visual system.
Edit With the Audience’s Attention in Mind
Editing determines how clearly a message lands. A technically impressive animation can still underperform if the opening is slow, the product benefit appears too late, or the sequence includes shots that do not advance the story.
For marketing content, show the hero product or primary message early. For explainers, establish context before introducing complex details. For film and TV work, pacing may be driven by performance, narrative tension, or editorial continuity. The right pace depends on the audience and channel, but every shot should have a reason to remain in the cut.
Text, callouts, and motion graphics should be planned as part of the edit, not added as an afterthought. Ensure there is enough negative space for titles and that labels remain readable on mobile screens. If an animation will be repurposed into vertical, square, and widescreen formats, compose key actions with safe cropping areas in mind.
Treat Sound as a Production Element
Sound design can change how viewers perceive motion, weight, scale, and quality. A subtle mechanical click can make a product interaction feel precise. A well-timed whoosh can support a transition. Ambient sound can make an architectural walkthrough feel inhabited without distracting from the design.
The trade-off is that sound can also overwhelm visual content quickly. Music should support the pacing, voiceover should be clear, and effects should add meaning rather than fill every second. For technical or regulated sectors, clear narration and accurate terminology often matter more than dramatic sound design.
Always review final audio levels against the intended delivery platform. A mix that feels balanced in an editing suite may not translate well to social feeds, presentation rooms, or mobile devices.
Run Review Cycles That Produce Useful Feedback
Post-production can stall when feedback is vague or arrives from too many stakeholders without a decision owner. The most reliable workflow establishes review stages early: a style frame or look-development review, an initial edit review, a near-final polish review, and a delivery approval.
Ask reviewers to separate creative feedback from technical corrections. Comments such as “make it better” create interpretation risk. Comments such as “reduce the blue cast in shots 4 through 7” or “move the feature label earlier” are actionable and easier to track.
Consolidated feedback is especially valuable when working with an outsourced team. One client-side owner can collect stakeholder input, resolve conflicting requests, and submit a prioritized change list. This keeps revisions efficient and protects the agreed scope.
Quality Control Before Delivery
The last review should check more than visual appeal. Inspect frame edges, text spelling, logo placement, masks, flicker, compression artifacts, alpha channels, audio sync, and legal or product claims. Confirm that the final file matches the required codec, resolution, frame rate, and platform specifications.
Delivering multiple versions is often the practical choice. A campaign may need a high-resolution master, web-ready video, social cutdowns, silent autoplay versions, vertical edits, and still-image extracts. Preparing these outputs from an approved master helps maintain consistency while reducing duplicate effort.
For complex projects, retain the source files, render passes, project files, and documented settings after delivery. Future updates may involve a new product color, revised messaging, localization, or a different platform format. Organized archives turn those requests into manageable updates instead of full rebuilds.
Choose a Partner That Connects 3D and Post
The strongest results come from a team that understands both sides of the pipeline. When modeling, animation, rendering, editing, and compositing are coordinated, technical decisions support the final edit from the first frame. This reduces handoff friction and gives clients one accountable production partner.
3D Modeling Animation Studio provides that end-to-end support for brands and production teams that need scalable 3D execution, polished post-production, and dependable delivery. The right production process does more than improve a final render. It gives your team the confidence to move quickly when the next launch, presentation, or campaign deadline arrives.