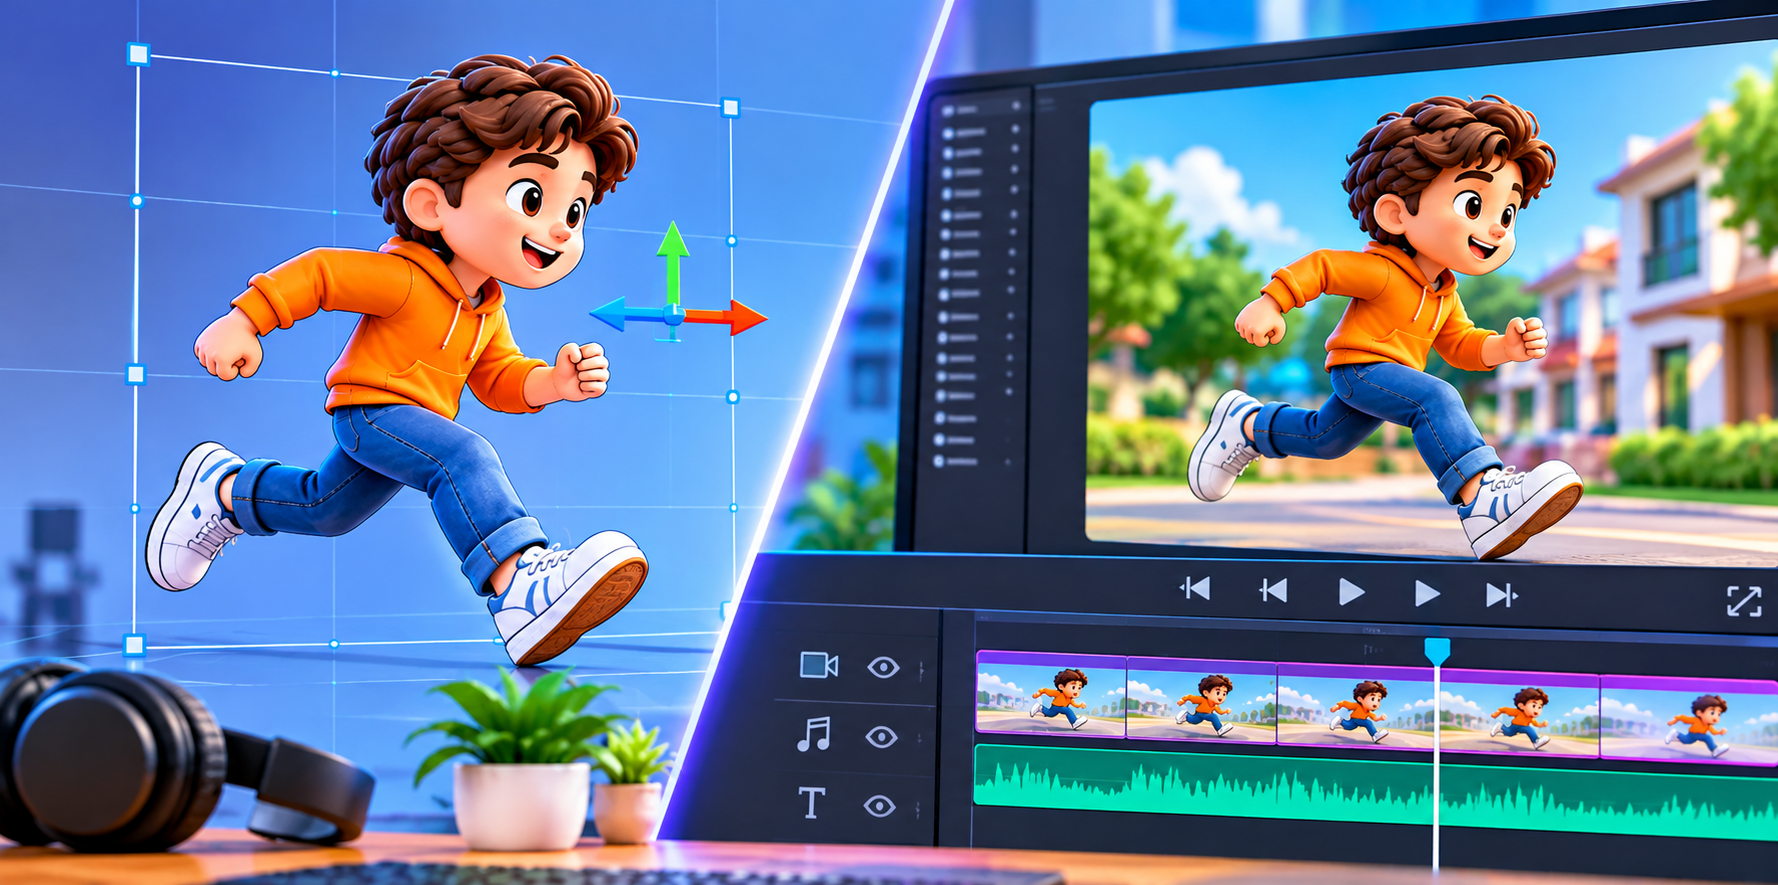
Picture a product demo in which every detail seems nearer, a miniature architectural model that looks as though it lifts off the screen, or a promo video that grabs attention right from the opening second. That is what makes 3D Video Editing so appealing. By building a convincing illusion of depth, you can turn ordinary footage into a far more immersive visual experience.
Whether you are just starting, a content creator, a designer, or a business owner, knowing the right tools and techniques can help you make engaging 3D videos without needless complexity.
In this guide, you will learn how 3D video editing works, which tools you need, and how to transform your footage into polished, three-dimensional content in 2026.
What Is 3D Video Editing, And Why Should You Explore It?
3D video editing is the practice of merging, tweaking, and improving visual footage so that it creates the perception of depth. Unlike standard 2D videos, stereoscopic 3D videos usually rely on two slightly different perspectives to replicate how human eyes see the world.
Your brain merges these two images into a single view with a sense of depth. With the right footage, editing software, and playback equipment, you can reproduce this effect in your own projects.
How Can 3D Video Editing Make Your Content More Engaging?
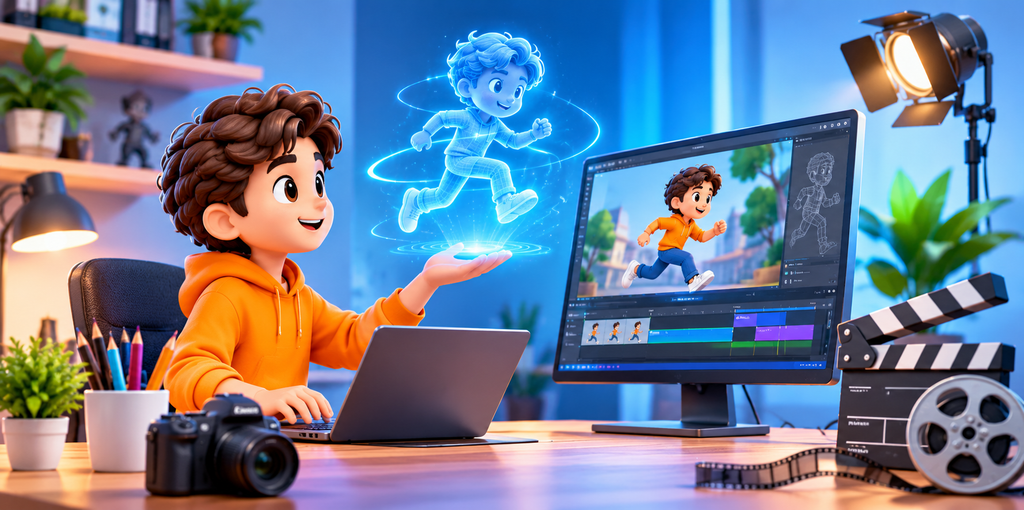
Three-dimensional imagery can help audiences grasp intricate topics more easily and make memorable experiences even more engaging. For example, companies can use 3D footage to highlight product features, showcase architectural ideas, or illustrate complex designs.
For model makers and product designers, 3D visuals can likewise enhance physical prototypes by assisting audiences in grasping a concept prior to production. Firms like Scale Model 3D Printing specialize in turning designs into physical models via 3D printing, scanning, and model-making services.
The essential point is to apply depth with a clear purpose. A skillfully made video ought to convey your idea clearly instead of overwhelming viewers with needless effects.
How to Choose the Right 3D Video Maker for Your Needs?
You don’t need a costly studio setup to start exploring 3D video production. That said, the results you get will hinge on the footage you shoot, your editing abilities, and the tools you pick.
A good 3D Video Maker ought to handle the video formats you require, provide useful editing controls, and allow you to preview and export your work dependably.
Before you pick a tool, keep these key points in mind:
- Footage compatibility: Check whether the software supports your camera’s 3D recording format, including side-by-side or anaglyph footage where applicable.
- Stereo alignment: Look for controls that help synchronize and align left-eye and right-eye images.
- Creative flexibility: Ensure you can add titles, transitions, music, voice-overs, and visual effects.
- Export options: Choose a tool that supports the formats and playback devices you intend to use.
- Ease of use: An intuitive timeline and helpful templates can make the learning process much smoother.
Why Is 3D Video Editing Software Important?
The right 3D Video Editing Software lets you merge separate views, fix alignment issues, polish your footage, and get a finished video ready for its intended audience.
MAGIX Video Deluxe Plus is one option worth exploring, offering Stereo3D tools for working with supported 3D footage. Its workflow covers combining video tracks, tweaking stereo properties, adding creative elements, and exporting 3D video files.
Before you buy any software, confirm that the edition you choose supports the specific Stereo3D features and export formats your project needs.
How to Create 3D Videos: A Step-by-Step Workflow?
Are you ready to make your footage feel more immersive? The workflow below follows the general process outlined in the MAGIX Stereo3D editing guide.
Step 1: Capture or Import Your 3D Footage
Begin with footage shot on a compatible 3D camera, or with two cameras placed so that each captures a slightly different perspective.
Open your editing project and bring in the video files. If your recordings include separate left and right views, put them on two separate timeline tracks.
Footage captured with separate cameras may need to be synchronized manually. Line up matching frames with care so both views show the same moment.
Step 2: Combine the Footage into a Stereo 3D Pair
Select both video tracks, then open the Stereo3D properties in your software’s effects panel.
Pick the stereo configuration that suits your source footage. In MAGIX Video deluxe Plus, the option labelled “Stereo3D pair (left image first)” is a helpful starting point when that configuration fits your recordings.
Then turn on the anaglyph preview and inspect the combined image with compatible red-cyan 3D glasses.
If the depth appears wrong, go back to the stereo settings before continuing.
Step 3: Adjust Alignment for a Clearer 3D Effect
Even footage that was recorded well may still need alignment adjustments. Minor differences in position, perspective, or synchronization can influence how comfortable and natural the final image looks.
Use the stereo alignment controls available to you to fix mismatches between the two views. Examine key objects, edges, and the main subject throughout the footage.
Steer clear of excessive depth effects. An image that is balanced and appears natural usually works better than exaggerated depth, which can pull viewers’ attention away.
Step 4: Edit, Enhance, and Add Creative Details
After the footage looks right, start developing the video into a full story.
Cut out the parts you don’t want, order the scenes, add background music, and record voice-over narration if needed. You may also include titles, subtitles, transitions, and other compatible effects.
When you place standard 2D titles or overlays into a stereoscopic scene, verify where they sit in terms of depth. In supported MAGIX workflows, the “Stereo depth for 2D object” setting helps place these elements within the 3D presentation.
Make sure text stays readable and effects match the message you want to convey.
Step 5: Export Your Finished 3D Video
Prior to exporting, go through the whole project and confirm that the two views stay synchronized.
Select an output format and stereo layout that fit the playback device you have in mind. MP4 might work for supported workflows, but the file format by itself does not ensure 3D compatibility.
Anaglyph output can be handy for compatible displays that use red-cyan glasses, whereas side-by-side output is meant for compatible 3D playback systems.
Review your export settings, render the video, and try out the finished file on the target device before you share it.
When Should You Consider a Professional 3D Video Editing Service?
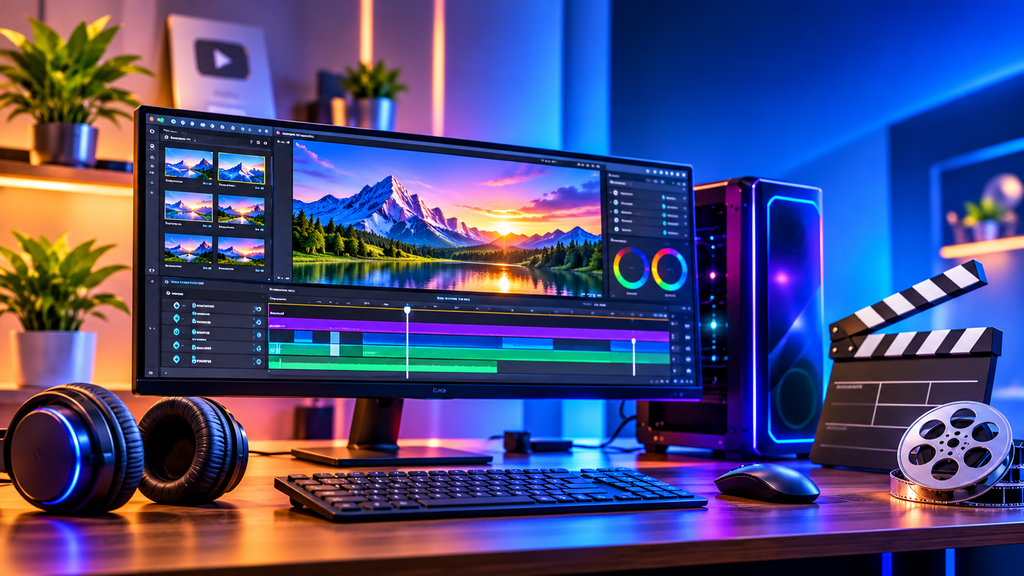
Learning to edit your own videos can be fulfilling, but certain projects call for more time, technical skill, or consistent production quality than you can easily handle on your own.
A professional 3D Video Editing Service might be worth considering when you require polished product presentations, complex footage synchronization, precise stereo correction, or multiple versions tailored to different platforms.
Before you hire a provider, examine its portfolio, verify its experience with your footage format, and talk through the expected deliverables, revisions, turnaround time, and budget.
For businesses showcasing physical models or engineering concepts, think about how edited video content can work alongside 3D scanning, digital visualization, and physical prototyping. The ideal solution hinges on whether your priority is an immersive video, a tangible model, or a blend of the two.
Bottom Line
Producing compelling 3D content starts with the right footage, appropriate editing software, and careful attention to alignment. From importing stereo footage to adding titles and exporting the completed project, every step adds to a more engaging viewing experience.
With practice, the right 3D Video Maker, and a clear creative goal, you can produce videos that convey ideas with greater visual impact.
Ready to Bring Your Ideas to Life?
Whether you wish to create immersive video content or transform a design concept into a detailed physical model, selecting the right expertise can make all the difference.
Discover 3D Modeling Animation Studio for professional 3D printing, scanning, prototyping, and scale model-making solutions. Reach Out To The Team to discuss your project requirements and find out how your ideas can go from concept to creation.
FAQs
What Exactly Is 3D Video Editing, and How Does It Function?
3D video editing refers to the practice of merging and improving video footage to produce a convincing impression of depth. Typically, it requires aligning two slightly different views, fine-tuning stereo alignment, and adding effects to deliver an immersive viewing experience. The completed video can then be exported in a 3D format that is compatible.
Which 3D Video Editing Software Works Best for Beginners?
Those just starting out should seek 3D video editing software that offers an easy-to-use interface, stereo alignment tools, built-in effects, and versatile export options. MAGIX Video deluxe Plus is one choice worth considering, as it provides Stereo3D editing features, title templates, audio tools, and compatibility with various 3D video formats.
Is It Possible to Make 3D Videos with an Ordinary Camera?
Yes, you can produce stereoscopic 3D videos by placing two standard cameras a short distance apart so they capture different perspectives. You will need to sync the footage, merge the two views with compatible 3D video editing software, fine-tune the alignment, and export the video in an appropriate 3D format.
When Is It Worth Hiring a Professional 3D Video Editing Service?
A professional 3D video editing service can be worthwhile when you require accurate stereo alignment, refined product demonstrations, intricate editing, or dependable results for business presentations and marketing campaigns. Before you select a provider, examine its portfolio, technical skills, turnaround time, and pricing to confirm the service fits your project’s needs.