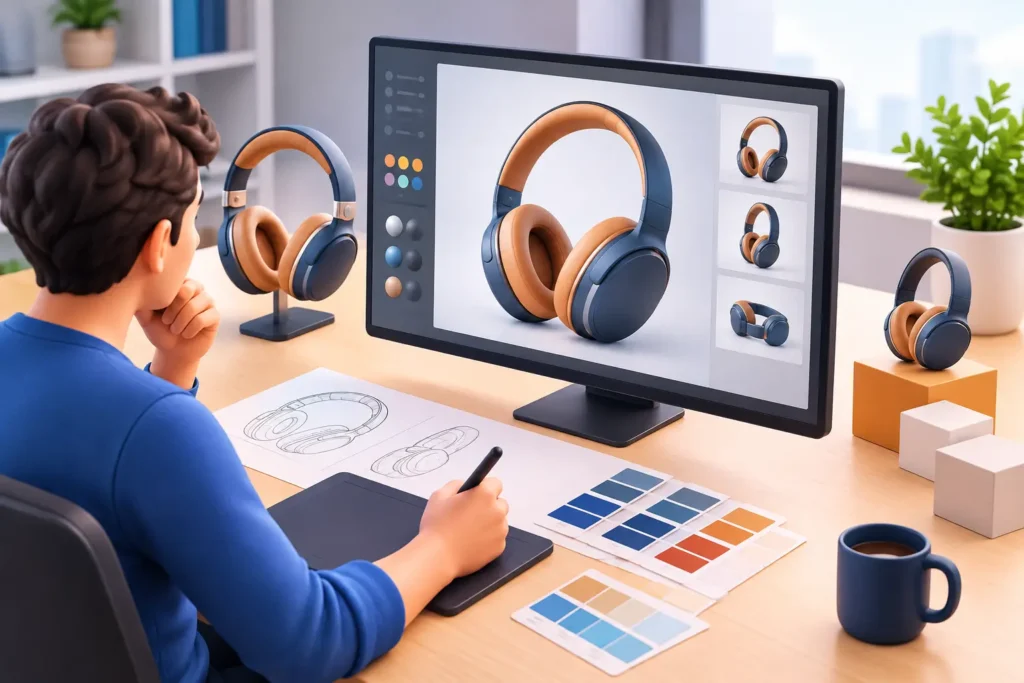
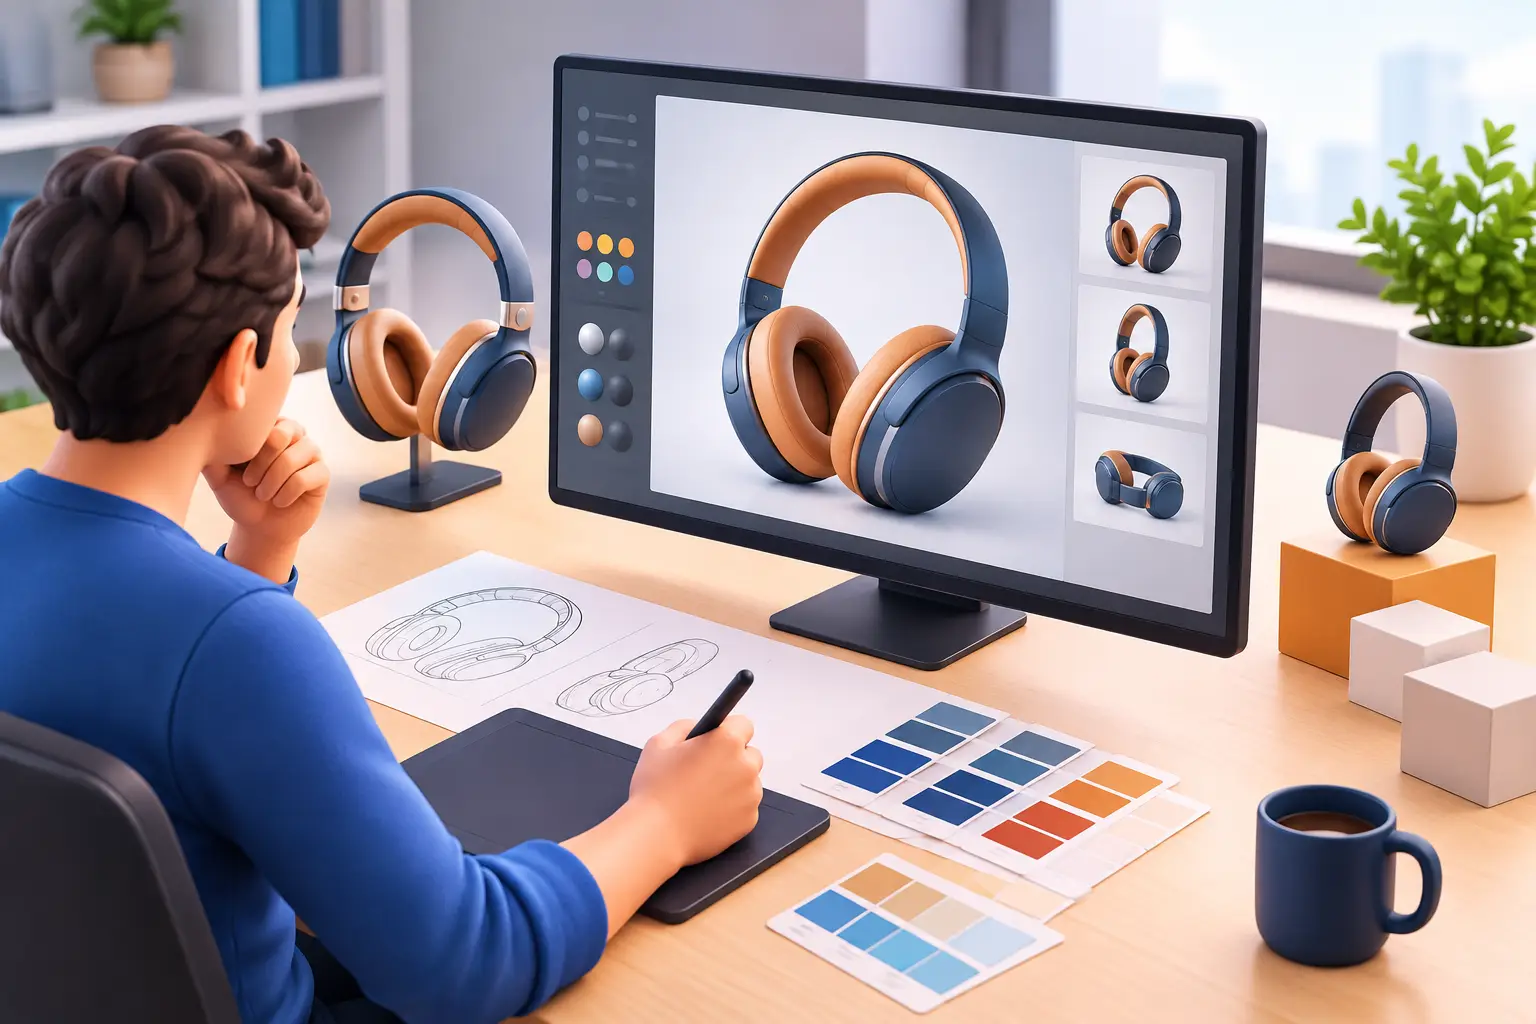
A product render can look technically impressive and still fail its commercial job. It may show the wrong feature, use an angle that hides the product’s value, or arrive too late for the campaign it was meant to support. The answer is not simply more rendering time. Knowing how to plan product visualization before production begins is what turns 3D assets into effective sales, launch, and marketing tools.
For marketing teams, product companies, and creative studios, a strong plan prevents the most expensive problems: unclear approvals, late design changes, inconsistent imagery, and a growing list of “just one more” revisions. It also gives an outsourced production team the direction needed to deliver accurate, on-brand work at speed.
Start With the Commercial Objective
Every visualization project should begin with a clear answer to one question: what must this asset help the business achieve? A hero render for an ecommerce product page has a different job than a launch film, a sales presentation, a trade-show loop, or a technical animation for investors.
Define the primary use before discussing camera angles or materials. If the goal is conversion, the visuals may need to make scale, finish, feature benefits, and configuration options immediately understandable. If the goal is a product reveal, mood, pacing, and controlled detail may matter more. For a technical or medical product, functional accuracy and cutaway views may be non-negotiable.
Set measurable expectations early. These could include the number of approved final images, video duration, platform formats, launch date, or the features that must appear in every key frame. A good brief separates mandatory deliverables from optional ideas, which protects the schedule when priorities shift.
How to Plan Product Visualization Around the Audience
The same product should not be visualized the same way for every buyer. A consumer may respond to lifestyle context and color options, while a procurement team may need evidence of construction, dimensions, and compatibility. Architects often need realistic environmental integration. Distributors may prioritize a complete, consistent catalog of product variants.
Build audience needs into the creative direction. Specify what viewers should understand within the first few seconds or first glance. For example, a cordless appliance campaign may need to communicate portability, charging convenience, and premium materials. An industrial component may need to show installation position, internal mechanics, and exact connection points.
This is also where brand positioning matters. Premium products often require controlled reflections, refined compositions, and restrained backgrounds. Value-focused products may benefit from direct feature callouts and clear comparative views. Neither approach is universally better. The right choice depends on the customer, sales channel, and product category.
Gather Source Assets Before Modeling Begins
Production efficiency depends heavily on the quality of the source material. A product visualization team can work from CAD files, engineering drawings, product photography, material samples, packaging files, and reference videos. But these inputs should be reviewed before schedules and quotes are finalized.
CAD data is useful, but it is not automatically ready for rendering. Engineering files can contain unnecessary internal parts, incomplete surfaces, or geometry that needs cleanup for efficient 3D production. Product photos can clarify finish and assembly details, but they may not show hidden areas. When references conflict, identify the approved source of truth rather than asking artists to guess.
A practical asset package should include:
- Current CAD, 3D, or technical drawing files, with revision dates clearly labeled
- High-resolution product photography showing materials, seams, labels, hardware, and assembly details
- Brand guidelines, including approved colors, typography, lighting preferences, and visual references
- Packaging artwork, logos, decals, and on-screen copy in editable formats
- A decision-maker who can confirm technical details and approve model accuracy
Do not overlook product variants. A single base product can become a large production scope when it includes multiple colors, sizes, finishes, accessories, regional packaging versions, or component configurations. Clarify whether each variation needs a unique render, a configurable scene, or only selected hero views.
Build a Shot List That Makes Decisions Easier
A shot list is more than an administrative document. It is the bridge between commercial strategy and 3D execution. It helps stakeholders see what they are buying before the team invests time in high-resolution rendering, animation, or post-production.
For still imagery, define the product position, camera angle, crop, background, visible features, and output ratio for each shot. For animation, add the story sequence, product actions, transitions, text requirements, voiceover timing, and duration. Include reference images whenever a specific visual standard is expected.
Avoid approving a vague request such as “create a few premium renders.” A stronger direction is “one 16:9 hero image with a three-quarter front view, one close-up of the control interface, one material-detail image, and three white-background ecommerce angles.” That level of detail reduces interpretation gaps while still allowing the creative team to improve the composition.
The shot list should also rank priorities. When a deadline is fixed, the production team can protect the assets that will actually support the launch instead of spreading effort evenly across lower-value requests.
Plan the Production Workflow and Approval Gates
High-quality visualization is built through stages. Treating all feedback as one final review creates avoidable rework because a change to geometry late in production can affect lighting, animation, labels, and every approved camera view.
A reliable workflow usually moves from asset review and modeling through look development, composition, preview approval, final rendering, and post-production. The exact sequence varies by project, but approvals should happen at points where changes are still efficient.
Model approval verifies dimensions, parts, and major design features. Look-development approval confirms materials, colors, and lighting direction. Camera or animation preview approval confirms framing and storytelling. Final delivery review focuses on output quality, file formats, and small finishing details.
Assign one consolidated feedback owner on the client side whenever possible. Input from marketing, engineering, sales, and leadership is valuable, but separate comments from multiple stakeholders can conflict and delay progress. A single approval process makes decisions traceable and gives the production partner a clear direction.
Set Realistic Timelines for Rendering and Revisions
The timeline should account for more than the final render. Modeling complexity, animation requirements, product variations, simulation work, stakeholder reviews, and rendering volume all affect delivery. A 10-second product animation may require more planning than a set of still images, particularly if it includes exploded views, fluid effects, soft goods, or complex mechanical motion.
Work backward from the campaign launch, then reserve time for approvals and contingency. If visuals are needed for paid media, ecommerce, print, retail displays, and social formats, confirm all required dimensions upfront. Reframing a finished image can be simple, but it can also require a new camera composition or additional scene work.
Speed matters, but rushing the discovery phase usually slows the project later. The most efficient teams move quickly because they have accurate references, a defined scope, and fast access to the people who can make decisions.
Budget for the Level of Accuracy You Need
Product visualization budgets should reflect the role the assets play. A simple product render for an internal concept review does not require the same level of detail as a campaign image that will appear in large-format advertising. Likewise, a reusable 3D product model can be a strategic investment when a company expects recurring launches, new colorways, or ongoing content needs.
Discuss reuse early. A well-built model may support stills, animation, ecommerce views, product configurators, training content, and future campaigns. That can make a higher initial production standard more cost-effective than repeatedly creating isolated assets.
Be transparent about where flexibility exists. Backgrounds, camera variations, output sizes, and minor post-production changes are often easier to adjust than core product geometry or late-stage animation direction. A capable outsourced team will help identify these trade-offs before they affect delivery.
Choose a Partner That Can Scale With the Brief
The best production partner does more than create attractive imagery. They ask the questions that protect brand accuracy, manage files and approvals clearly, and have the specialized capacity to handle changing volume without compromising quality.
For projects that combine modeling, animation, rendering, and editing, working with one coordinated team can reduce handoffs and preserve visual consistency. 3D Modeling Animation Studio supports this kind of end-to-end production, helping brands turn technical product information into polished visual assets built for real marketing and sales use.
Start with the decision your audience needs to make, then build every visual around making that decision easier. When the product, message, shot plan, and approvals are aligned from the beginning, visualization becomes a dependable production asset rather than a last-minute creative expense.