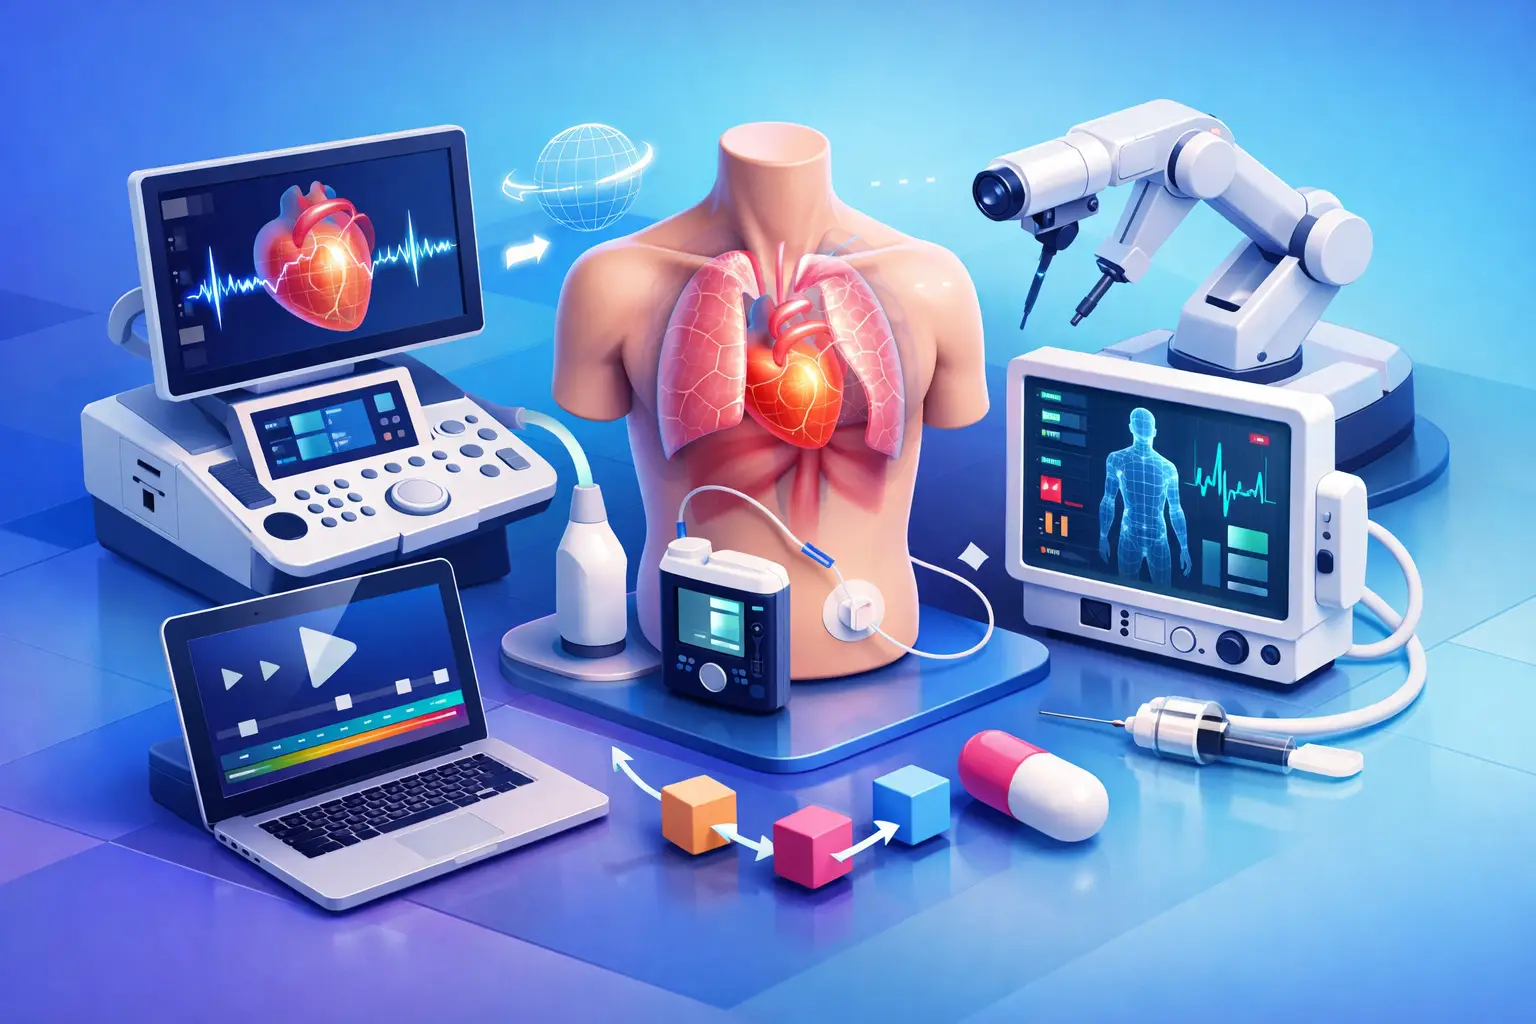
A medical device can be technically exceptional and still be difficult to sell, train with, or explain if its mechanism is hidden inside a housing. Knowing how to animate medical devices means translating engineering detail into a visual sequence that clinicians, investors, sales teams, and patients can understand without oversimplifying the product.
That work demands more than attractive 3D motion. Medical animation must respect device geometry, clinical context, user workflow, and the level of evidence behind every claim. A polished animation that shows the wrong insertion angle, omits a critical safety feature, or suggests an unapproved outcome can create costly revisions and weaken trust. The best productions balance precision with clarity from the first brief through final delivery.
Start With the Communication Objective
Before modeling begins, define what the animation must accomplish. A product launch film, a physician training asset, a trade show loop, and an investor presentation may all feature the same device, but they need different levels of detail and different pacing.
For example, a short marketing animation may focus on the device’s value proposition: smaller access, intuitive handling, controlled delivery, or a visible safety mechanism. A clinical education piece may need to show setup, anatomy, insertion, deployment, and removal in a precise order. If the aim is regulatory, reimbursement, or investor communication, the animation may need clear visual boundaries around what is demonstrated, what is simulated, and what claims have been substantiated.
This early decision controls scope. It determines whether the animation needs an anatomical environment, cutaway views, fluid simulation, labeled callouts, multiple device configurations, or only a clean studio presentation. It also prevents a common production problem: trying to turn one short animation into a marketing video, training module, surgical simulation, and sales asset at the same time.
Build Accuracy Into the 3D Model
The foundation of medical device animation is a reliable model. Product photos and rough sketches can help establish visual direction, but they are rarely enough for technically correct motion. The production team should work from the latest approved CAD files, engineering drawings, dimensional references, material specifications, and device instructions for use where available.
CAD data often needs preparation before it can be animated. Engineering assemblies may contain thousands of parts, hidden internal components, unnecessary fasteners, or geometry that is too dense for efficient rendering. A 3D artist must simplify the model without changing the functional relationships that matter. That may involve rebuilding selected components, separating moving parts, correcting surfaces, and organizing the assembly into a clean hierarchy.
Accuracy also depends on version control. Medical devices change during development, and a revised tip, handle, connector, or deployment mechanism can affect the entire sequence. Establish a single approved source for geometry and label asset versions clearly. It is far less expensive to update the model before lighting and rendering than to discover a design change after final frames have been approved.
Decide What Must Be Literal and What Can Be Simplified
Not every component needs equal visual emphasis. Tiny internal springs, seals, threads, or electronic elements may be technically present but visually distracting. The right approach depends on the audience. A clinical specialist may need an exploded view of those parts, while a purchasing committee may only need to see how the mechanism improves usability.
Simplification is appropriate when it improves comprehension and does not alter function. A transparent housing can reveal internal movement. A cutaway can expose a catheter path. Color coding can distinguish a sheath, implant, delivery system, and target anatomy. These are communication choices, not engineering replacements, and they should be reviewed by subject-matter experts before final rendering.
How to Animate Medical Devices With Clear Motion
Good device animation follows cause and effect. Viewers should understand what initiates the action, which component moves, where that movement transfers, and what result occurs. When several parts move at once, timing becomes especially important.
Start by mapping the action as a sequence of states: initial position, preparation, engagement, activation, deployment, confirmation, and withdrawal or reset. This creates a motion blueprint before keyframes are added. It also exposes missing information. If no one can explain exactly how the device transitions from one state to another, animation should not be used to guess.
Mechanical motion should feel controlled rather than theatrical. A stent delivery system, injector, imaging instrument, or surgical tool needs believable travel distances, pivot points, constraints, and contact behavior. Overly fast movement may look dynamic, but it can conceal the mechanism. Excessively slow movement can make a short product video feel heavy. The most effective pacing often uses real-time motion for handling and slightly slowed movement for deployment, release, or internal action.
Camera movement should support the explanation, not compete with it. Use a stable product camera when demonstrating controls or workflow. Move into a close-up when the user needs to see a lock, indicator, or trigger. Transition to a cross-section or anatomical view only when it answers a question the exterior view cannot answer. Constant orbiting cameras and dramatic depth-of-field effects can look impressive while making a technical sequence harder to follow.
Create an Environment That Supports the Story
A medical device does not always need a full operating room environment. In fact, building one can consume budget without adding value if the primary objective is to show product mechanics. A clean background, controlled lighting, and a carefully framed device may be the strongest choice for a sales presentation or website asset.
When anatomy is required, it must be accurate enough to establish orientation and clinical relevance. The anatomical model should show the correct access path, target location, scale relationship, and tissue behavior for the intended explanation. Yet anatomical realism has trade-offs. Highly detailed tissue, fluids, and surgical environments can create powerful visuals, but they can also obscure the device or extend production time. Match realism to the decision the audience needs to make.
Materials and lighting matter because medical products are often made from reflective polymers, stainless steel, titanium, coated metals, transparent components, and soft elastomers. The rendering must show form and surface quality without hiding markings, connectors, or moving features in glare. Product labels and measurement markings should remain readable at the resolution where the animation will be viewed.
Review With the Right Stakeholders at the Right Time
Medical device animation requires structured review, not a single final approval. Bring engineering, product marketing, clinical education, and regulatory or quality stakeholders into the process at different stages. Each group identifies different issues, and waiting until final render to collect feedback creates avoidable rework.
The most efficient review process uses clear checkpoints. First, confirm the script and storyboard, including terminology and claims. Next, approve the device model and relevant anatomy. Then review a low-resolution animation preview for timing, camera placement, and mechanical accuracy. Only after those stages are approved should the team commit to final materials, lighting, rendering, compositing, and sound.
Feedback should be consolidated by one client-side decision-maker whenever possible. Conflicting comments from multiple departments can stall production, especially when a request from marketing affects technical accuracy or a clinical comment changes the intended message. A defined approval owner keeps the project moving while ensuring specialists have a voice.
Plan Deliverables Before Rendering
Rendering is one of the most resource-intensive stages, so final outputs should be planned early. A 4K conference-screen film, a web video, a vertical social clip, a looping trade show animation, and a presentation-ready file may require different framing, duration, captions, and export settings.
It is often more cost-effective to create a master animation and adapt it into a family of deliverables than to build separate productions. That approach works best when the storyboard accounts for alternate crops and versions from the start. On-screen text should be designed for legibility across formats, and essential device actions should not sit too close to the edge of frame.
For companies managing fluctuating launch schedules or multiple product lines, an experienced outsourced 3D production team can provide the specialized capacity needed for modeling, rigging, animation, and post-production without increasing permanent headcount. 3D Modeling Animation Studio supports this type of workflow with custom production support built around technical review, quality control, and deadline-driven delivery.
Protect Credibility With Disciplined Claims
Animation can make a device’s benefits easier to see, but it should never imply performance the product cannot support. Avoid visual shortcuts that suggest guaranteed clinical outcomes, universal compatibility, zero risk, or procedure steps that differ from approved use. If a sequence is conceptual, illustrative, or based on a specific use case, make that distinction clear through appropriate language and review.
This discipline is commercially valuable. Sales teams need assets they can use with confidence. Product leaders need visuals that reflect the actual device. Clinical audiences need explanations that respect their expertise. An animation that is accurate, focused, and visually clear can continue working across launches, training cycles, presentations, and stakeholder conversations long after the first campaign ends.
The strongest medical device animations do not try to show everything. They show the right action, at the right level of detail, for the person making the next decision.